QUICK INFO
| Difficulty | Beginner |
| Time Required | 15-20 minutes |
| Prerequisites | Personal Gmail account, Chrome browser |
| Tools Needed | macOS / Windows / Linux, Chrome 120+, 4GB+ RAM |
What You'll Learn:
- Install Antigravity and complete initial configuration
- Navigate between Agent Manager and Editor views
- Set up browser automation with the Chrome extension
- Run an autonomous agent task and review its artifacts
Google Antigravity is an agentic development platform that launched December 11, 2025. Unlike coding assistants that autocomplete lines, Antigravity spawns autonomous agents that plan, code, browse the web, and verify their own work. You act as architect; the agents handle execution. This guide covers installation through your first agent-driven task.
Getting Started
You need a personal Gmail account (not Google Workspace). The product is in public preview with free access to Gemini 3 Pro, Claude Sonnet 4.5, and GPT-OSS models. Rate limits apply but they're generous for individual use.
System requirements: macOS 10.15+, Windows 10+, or Ubuntu 20.04+/Debian 11+. Chrome must be installed for browser automation features.
Go to antigravity.google/download and grab the installer for your OS.
Installation and Initial Setup
Step 1: Run the Installer
Launch the downloaded installer. On macOS, drag to Applications. On Windows, run the .exe and follow prompts. Linux users get a .deb or .AppImage.
Open Antigravity after installation completes.
Step 2: Configure Initial Settings
The setup wizard walks through several screens. Here's what matters:
Choose setup flow: You can import VS Code or Cursor settings. For a clean start, skip this.
Choose editor theme: Dark or light. Cosmetic only.
How do you want to use Antigravity agent: This is the important one. You're setting two policies:
Terminal Execution Policy controls whether agents can run shell commands without asking:
- Off: Agents never auto-execute (safest)
- Auto: Agent decides when to ask permission
- Turbo: Always auto-executes (fastest, riskiest)
Review Policy controls when agents pause for your approval:
- Always Proceed: Never asks
- Agent Decides: Pauses on risky operations
- Request Review: Always asks before proceeding
The wizard offers presets. "Agent-assisted development" (Auto + Agent Decides) balances autonomy with safety. Start there.
Step 3: Sign In With Gmail
Click through to the Google sign-in screen. Use a personal Gmail account. The docs say to let Chrome create a new profile for this; it avoids conflicts with existing browser sessions.
After authentication, you'll redirect back to Antigravity. Accept the terms of use.
Expected result: You land in Agent Manager with a text input saying "Ask anything."
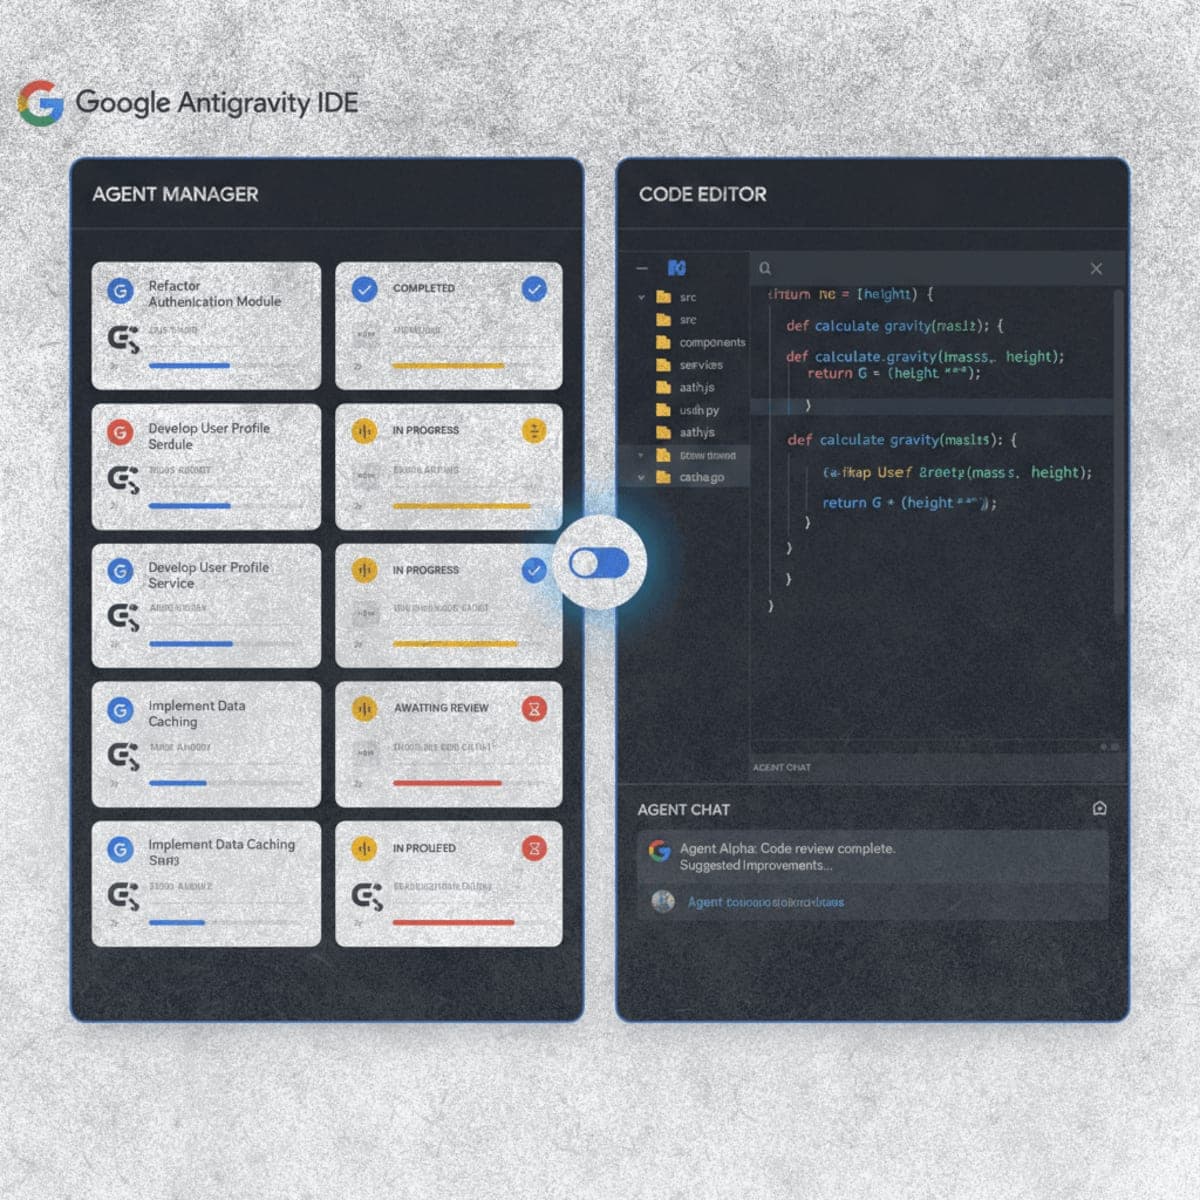
Understanding the Two Interfaces
Antigravity has two distinct modes. You'll switch between them constantly.
Agent Manager is mission control. You see your inbox of conversations, spawn new agent tasks, and monitor progress across multiple workspaces. This is where you give high-level instructions like "refactor the auth module" or "generate a test suite."
Editor looks like VS Code. File tree, syntax highlighting, terminal, extensions. The AI features live in a side panel (Cmd+L / Ctrl+L to toggle). Use this for hands-on work: reviewing diffs, editing files, running commands manually.
Toggle between them with Cmd+E (Mac) or Ctrl+E (Windows), or use the buttons in the top-right corner.
Setting Up Browser Automation
Agents can control Chrome to test web apps, scrape data, or verify UI changes. This requires a Chrome extension.
Step 1: Trigger the Browser Setup
In Agent Manager, select Playground from the left sidebar. Type: go to google.com
Submit the task. The agent will analyze what's needed and prompt you to set up browser integration.
Step 2: Install the Extension
Click Setup when prompted. Chrome opens to the Antigravity extension page. Install it.
Return to Antigravity. The agent will now request permission to navigate to google.com. Approve it.
Expected result: A Chrome window opens with a blue border (indicating agent control) and navigates to the site. The agent captures a screenshot and possibly a video recording as artifacts.
Running Your First Real Task
Let's do something more substantial than visiting a URL.
Step 1: Create a Workspace
In Agent Manager, click the workspace dropdown and select a local folder. This becomes your project directory. If you don't have one ready, create an empty folder first.
Step 2: Give a Task
Type something concrete. Example:
Create a Python Flask app that displays the current time. Include a refresh button. Test it in the browser and confirm it works.
Submit and watch.
Step 3: Observe the Agent's Process
The agent produces artifacts as it works:
Task Artifact: The breakdown of what it plans to do, step by step.
Implementation Plan: Technical details on how it'll accomplish each task.
Walkthrough: Documentation of what it actually did, with screenshots and video if browser testing was involved.
You can toggle artifact visibility with the button near "Review changes" in the top right.
The agent may pause for approval at certain points (depending on your Review Policy). It'll flag terminal commands it wants to run. Approve or deny as needed.
Expected result: After a few minutes, you have a working Flask app in your workspace. The agent may even launch it and provide a localhost URL. If browser testing was involved, check the Media artifacts for recorded verification.
Reviewing and Editing Artifacts
Artifacts aren't just logs. You can interact with them.
Click any artifact to expand it. See that Implementation Plan has a questionable approach? You can add comments directly, Google Docs style. Select text, add a comment, and the agent incorporates your feedback in its next iteration.
This is how you steer without micromanaging. The agent proposes; you redirect.
Adjusting Agent Behavior
Two customization systems exist: Rules and Workflows.
Rules are always-on guidelines. Example: "Follow PEP 8 style" or "Always write docstrings." These apply to every conversation.
Workflows are saved prompts you trigger manually with /. Example: /generate-unit-tests could invoke a detailed testing prompt you've crafted.
Access both via the ... menu in the top right corner, then Customizations.
Rules and workflows save to ~/.gemini/ (global) or your-workspace/.agent/ (per-project). You can edit the markdown files directly if you prefer.
Troubleshooting
Symptom: "Rate limit exceeded" errors Fix: You've hit the daily token quota for a model. Switch to a different model in the dropdown (Gemini 3 Pro, Claude Sonnet 4.5, or GPT-OSS) and continue. Limits reset daily.
Symptom: Agent runs commands you didn't approve Fix: Your Terminal Execution Policy is set to Turbo. Go to Settings > Advanced Settings > Terminal section and change to Auto or Off.
Symptom: Browser automation doesn't work Fix: Check that the Chrome extension is installed and enabled. The extension only activates in the Antigravity-managed browser window (look for the blue border). If you see no blue border, the extension isn't connected.
Symptom: Agent keeps asking for approval on everything Fix: Review Policy is set to Request Review. Change to Agent Decides in settings for a faster workflow.
What's Next
You've got Antigravity installed and running basic tasks. The next step is trying a multi-file project where the agent creates, tests, and iterates across several components. The official codelab at codelabs.developers.google.com/getting-started-google-antigravity covers use cases like unit test generation and web app development in more depth.
PRO TIPS
- Cmd+I (Mac) or Ctrl+I (Windows) triggers inline commands in the editor or terminal. Type natural language to get code completions or shell commands.
- Use
@in the chat input to reference specific files, directories, or MCP servers for context. - Switch to Fast mode for simple tasks (renaming variables, quick scripts). Planning mode adds overhead that isn't needed for small changes.
- The Inbox in Agent Manager tracks all conversations. Click any past conversation to resume or review artifacts.
COMMON MISTAKES
- Using a Google Workspace account: Personal Gmail only during preview. Workspace accounts won't authenticate.
- Running Turbo mode with no Deny List: The agent will execute any command without asking. Add
rm,sudo, andcurlto your Deny List if you use Turbo. - Ignoring artifacts: The Task and Implementation artifacts show what the agent plans to do before it does it. Review these before approving execution on anything consequential.
- Leaving browser sessions running: The Antigravity Chrome extension stays active. Close the managed browser window when you're done to avoid accidentally sharing data from regular browsing.
FAQ
Q: Is Google Antigravity free? A: Yes, during the public preview. Generous rate limits on Gemini 3 Pro, Claude Sonnet 4.5, and GPT-OSS are included at no cost.
Q: Can I use my own API keys for higher limits? A: The documentation doesn't currently cover BYOK (bring your own key). The included quotas are the only option for now.
Q: Does Antigravity work offline? A: No. The AI models run server-side. You need an internet connection for agent functionality. The editor itself may work offline for local file editing, but agent features require connectivity.
Q: Is this the same as the "Google Gravity" Easter egg? A: No. That's an unrelated physics demo by Mr.doob. Google Antigravity is a development platform; the name is coincidental.
Q: Can agents access my other browser tabs or data? A: Only when the Antigravity-managed browser window (blue border) is active and you've approved the action. Regular Chrome sessions aren't accessible.
RESOURCES
- Official download page: macOS, Windows, Linux installers
- Documentation: Full feature reference and configuration options
- Google Codelab: Step-by-step tutorial with use cases
- YouTube channel: Video walkthroughs and demos